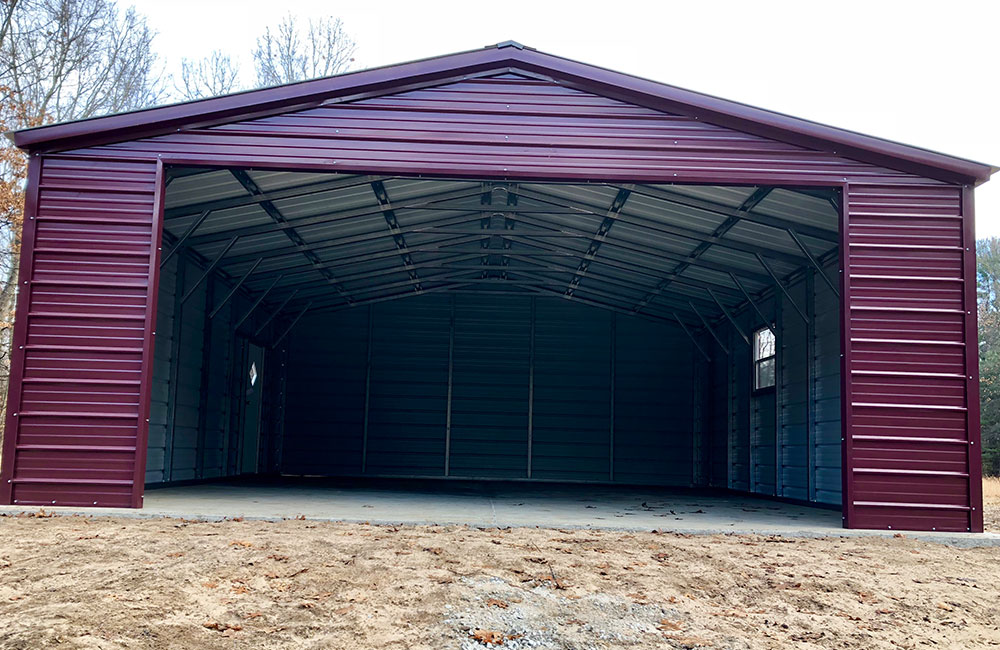
A well-insulated garage can significantly improve energy efficiency, making it a more comfortable space for various activities throughout the year. Insulating your garage as a do-it-yourself project is not only rewarding but can also save you money on installation costs. This guide will take you through the step-by-step process of DIY garage insulation.
Step 1: Assess Your Garage
Start by assessing your garage’s current insulation status and identifying areas that need improvement. Check for gaps, cracks, and exposed surfaces that contribute to heat loss. Take measurements of the walls, ceiling, and garage door to determine how much insulation material you’ll need.
Step 2: Choose Your Insulation Material
There are various insulation materials to consider for your garage. Fiberglass batts or rolls are readily available and relatively easy to install. Foam board insulation is great for walls and garage doors, providing both insulation and moisture resistance. Reflective insulation works well for combating radiant heat. Select the material that best suits your needs and budget.
Step 3: Gather the Necessary Tools and Equipment
Before starting the installation, gather all the tools and equipment you’ll need. This may include a utility knife, measuring tape, safety goggles, work gloves, dust mask, caulk or foam sealant, and a staple gun.
Step 4: Prep the Garage
Clear the garage space to create a safe and accessible working area. Remove any obstacles that may hinder the insulation process. Ensure there is proper ventilation to prevent the buildup of fumes from adhesives or sealants.
Step 5: Insulate the Garage Door
If your garage door is not already insulated, this is an excellent place to start. Cut the insulation material to fit the panels of the garage door. Attach the insulation using adhesive or tape, making sure it is secure and covers the entire surface.
Step 6: Insulate the Walls and Ceiling
For fiberglass batts, cut the insulation to fit between the wall studs and ceiling joists. Wear gloves and a dust mask during this process to protect yourself from irritation. For foam board insulation, measure and cut the panels to fit the walls, and use adhesive or fasteners to secure them in place. Use caulk or foam sealant to fill gaps around doors, windows, and any other openings.
Conclusion
Insulating your garage as a DIY project is a rewarding endeavor that can enhance the comfort and energy efficiency of your home. By following this step-by-step guide and adhering to safety precautions, you can successfully insulate your garage and create a more functional and enjoyable space for various activities while saving on installation costs.